
1. What to sort out before the installer arrives
Before installation day, decide which room needs cooling, where the indoor unit should sit, and where the outdoor unit can stand with enough airflow. In the Lowveld, a north or west facing room can heat up fast, so placement matters more than most people think. If you are in a complex, estate, or sectional title unit, check the rules first because some bodies corporate want written approval for the outside bracket, drainage route, and noise level.
Your installer will usually need access to the room, the roof space if there is one, and the outside wall or balcony. Clear the area around windows, curtains, TVs, shelves and beds so the team can work without moving heavy furniture. It also helps to know where the nearest power point and distribution board are, especially if a new circuit is required.
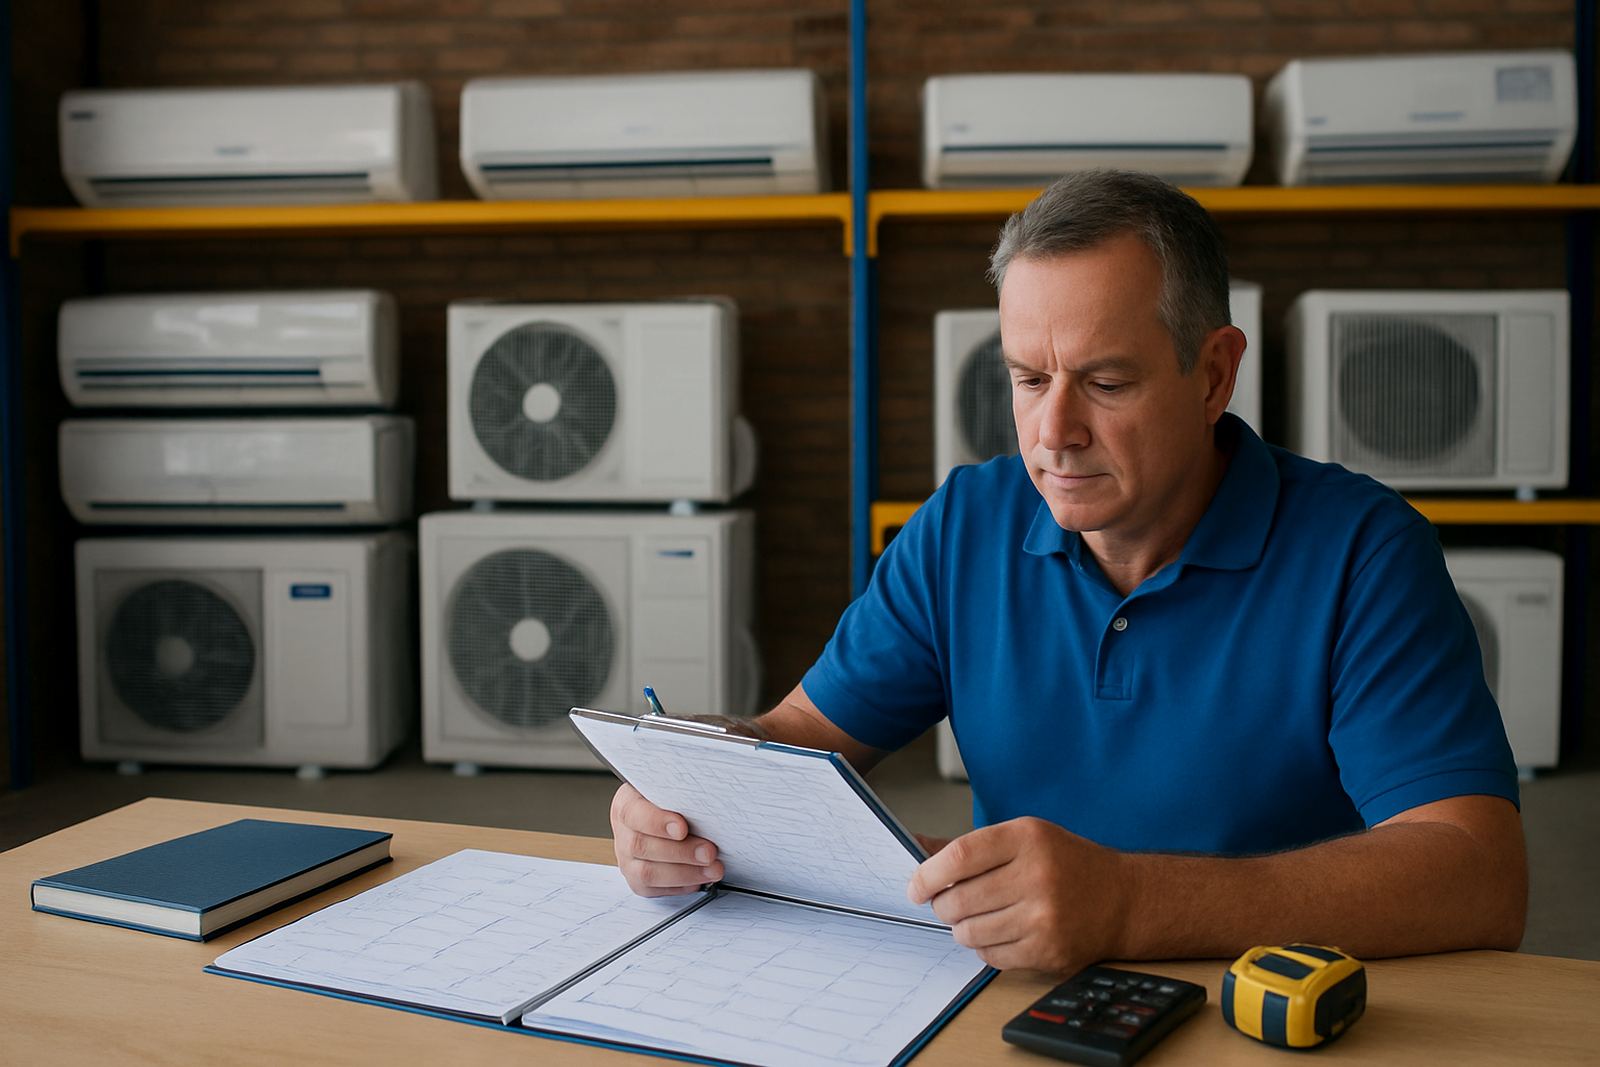
- Measure the room size in square metres
- Confirm where the outdoor unit can be mounted or placed
- Check approval rules for rentals, estates, and complexes
- Make sure ladders, ceilings and walls are easy to reach
- Keep pets and children out of the work area
2. How to choose the right split for the room
The right size depends on the room, insulation, sun exposure and how many people use the space. A small bedroom needs a different capacity to an open plan lounge or office. If the unit is too small it will run too long and struggle in December and January, if it is too large it can cycle too often and waste power. In places like Hazyview and Rustenburg, where heat and dust can be hard on equipment, sizing should be practical not guesswork.
Wall split units are common for bedrooms, living rooms and small offices. Cassettes suit ceilings where the pipe route and ceiling space allow it. Portable units can work for temporary use, but they still need proper venting and a sensible place near a window. Ask for a site assessment if you are unsure, because one room may need 9,000 BTU while another may need 18,000 BTU or more.
- Bedroom: usually smaller capacity
- Living room or open plan area: usually medium to larger capacity
- Top floor or west facing room: often needs extra cooling allowance
- Coastal or dusty areas: ask about cleaning and service intervals
3. What happens on installation day
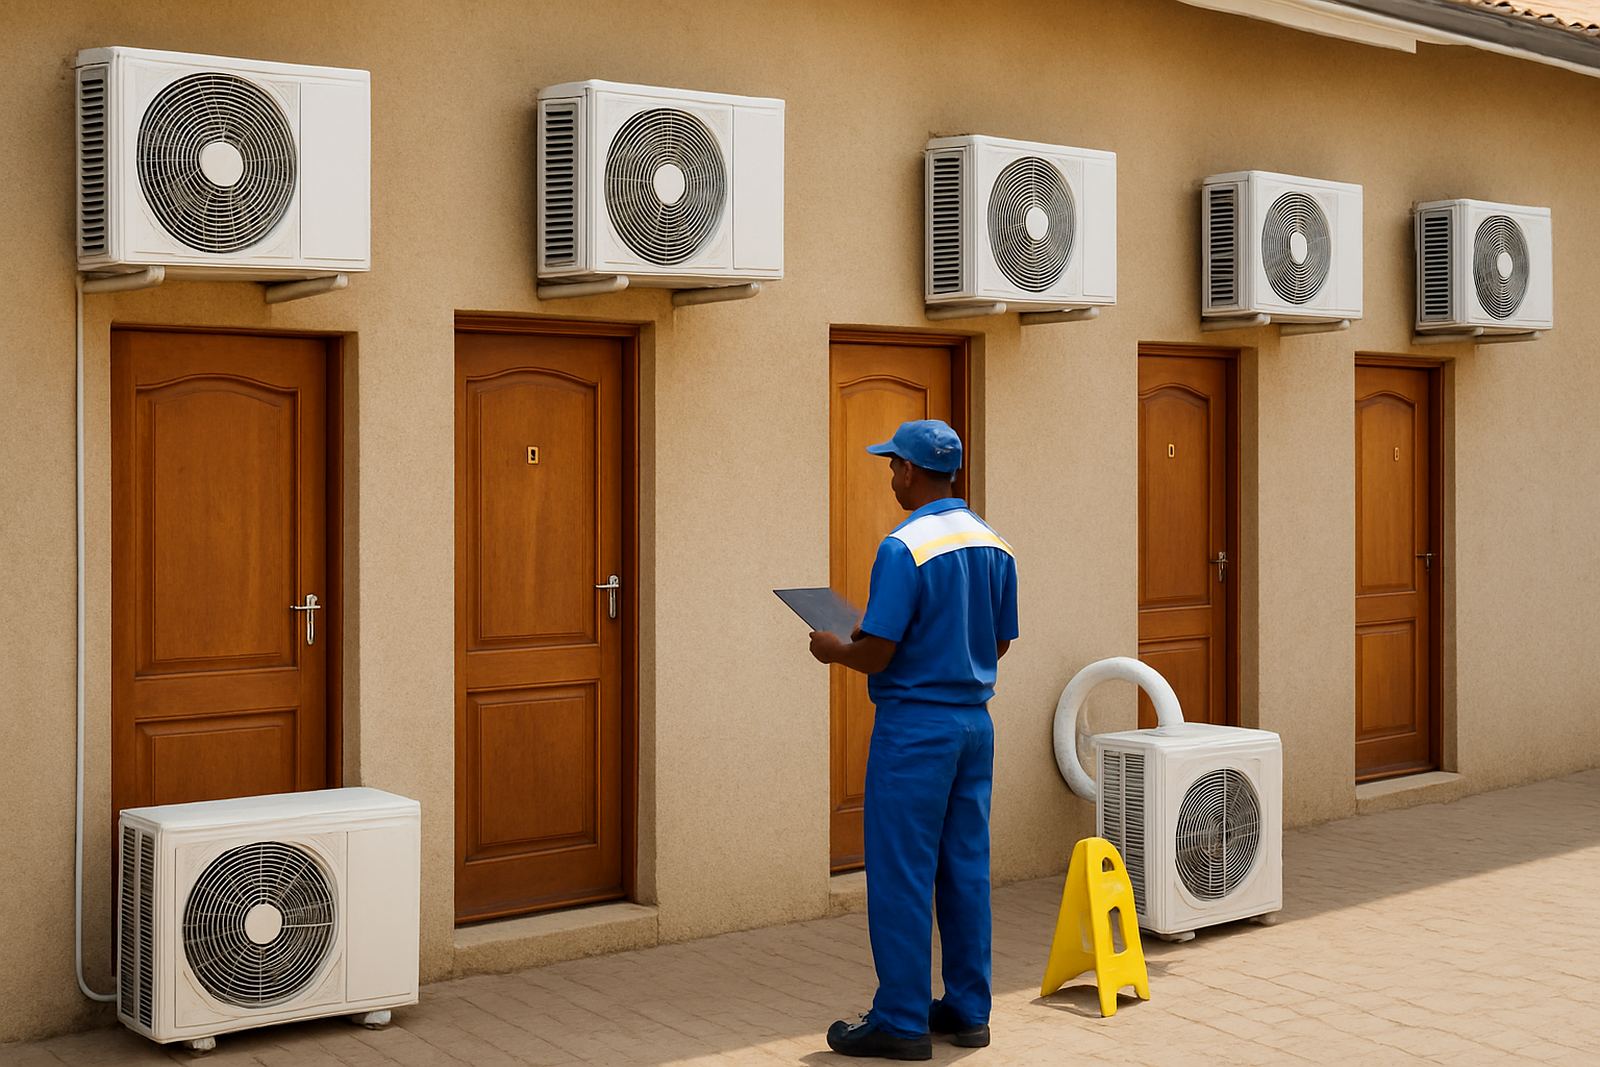
On the day, the team should confirm the unit position, drill the wall, mount the indoor bracket, and fit the outdoor unit where it has enough support and clearance. The pipe run is then set, insulated, and sealed so warm air and moisture do not work back into the wall. The installer will also check that the drain line can carry condensed water away properly, which is important during humid Lowveld weather.
You should expect some dust and noise, but a good crew keeps it controlled and leaves the work area tidy. If the installation needs electrical work, the team may test the supply and isolate the circuit before connecting the unit. After that, the system is vacuumed, charged if needed, and tested in cooling mode.
Most homeowners are asked to stay available while the installer confirms the final position and talks through any issue on site. A quick walk-through at the end helps catch things like noisy brackets, visible trunking, or a drain line that needs neater routing.
4. Pre-install checklist for the homeowner
A little preparation saves time and avoids delays. If the unit is going into a bedroom, remove curtains and pictures from the wall where drilling will happen. For homes in Klerksdorp and Potchefstroom, where summer dust and winter cold both matter, make sure windows can still close properly after the pipe work is done.
- Have the room ready and furniture moved if needed
- Confirm access to the roof, yard, balcony, or outside wall
- Keep the purchase invoice and warranty information nearby
- Show the installer where the power source and main board are
- Ask where the drain water will discharge
- Check if you need permission from a landlord or body corporate
If the property has load shedding, tell the team where backup power or surge protection is already in place. That helps with the final commissioning, and it can prevent call-backs later on. A short chat before work starts usually saves time later.
5. After fitment: first start-up and daily use
Once the unit is fitted, the installer should show you how to use the remote or controller, set the temperature, and choose the right fan speed. For most homes, a steady setting around 22 to 24 degrees works well without pushing the unit too hard. In the first few hours, listen for unusual vibration or dripping and check that cool air is coming through evenly.
Keep doors and windows shut while the unit is running, otherwise it has to fight hot air from outside. In Mbombela and White River, where humidity can climb quickly, it is normal to see water draining from the outside unit or pipe line. That is part of normal operation, not a fault.
Also pay attention to the power point and cable routing after the first few uses. If the area trips, smells hot, or the display cuts out, stop using it and report the issue early rather than waiting.
6. Simple care that keeps the unit working properly
Good aftercare makes a big difference to running costs and comfort. Filters collect dust from daily use, especially in homes with pets, open windows, or road dust. Wipe or wash the filters regularly, and keep the outdoor unit clear of leaves, grass, and debris. If the unit is exposed to sea air, dust, or heavy rain, schedule servicing more often so corrosion and blockages are caught early.
A normal homeowner can manage basic cleaning, but gas checks, fault finding, deep cleaning and electrical issues should be handled by a trained technician. If the unit is cooling less than usual, making new noises, or icing up, do not keep forcing it. A small issue can turn into a bigger repair if it is ignored for weeks.
For homes in Rustenburg, Klerksdorp, Potchefstroom, and around the Lowveld, a planned service before peak summer is worth doing. It helps the system start the season clean, charged and ready.